occupational therapy

Holiday Box Craft

This time of year we love incorporating holiday themed activities into fine motor work. See below for this fun popsicle stick box craft where you can choose to make either a Christmas tree or Hanukkah Menorah! Pushing the popsicle sticks into the corresponding slots is a great way for kids to work on fine motor strength and precision.

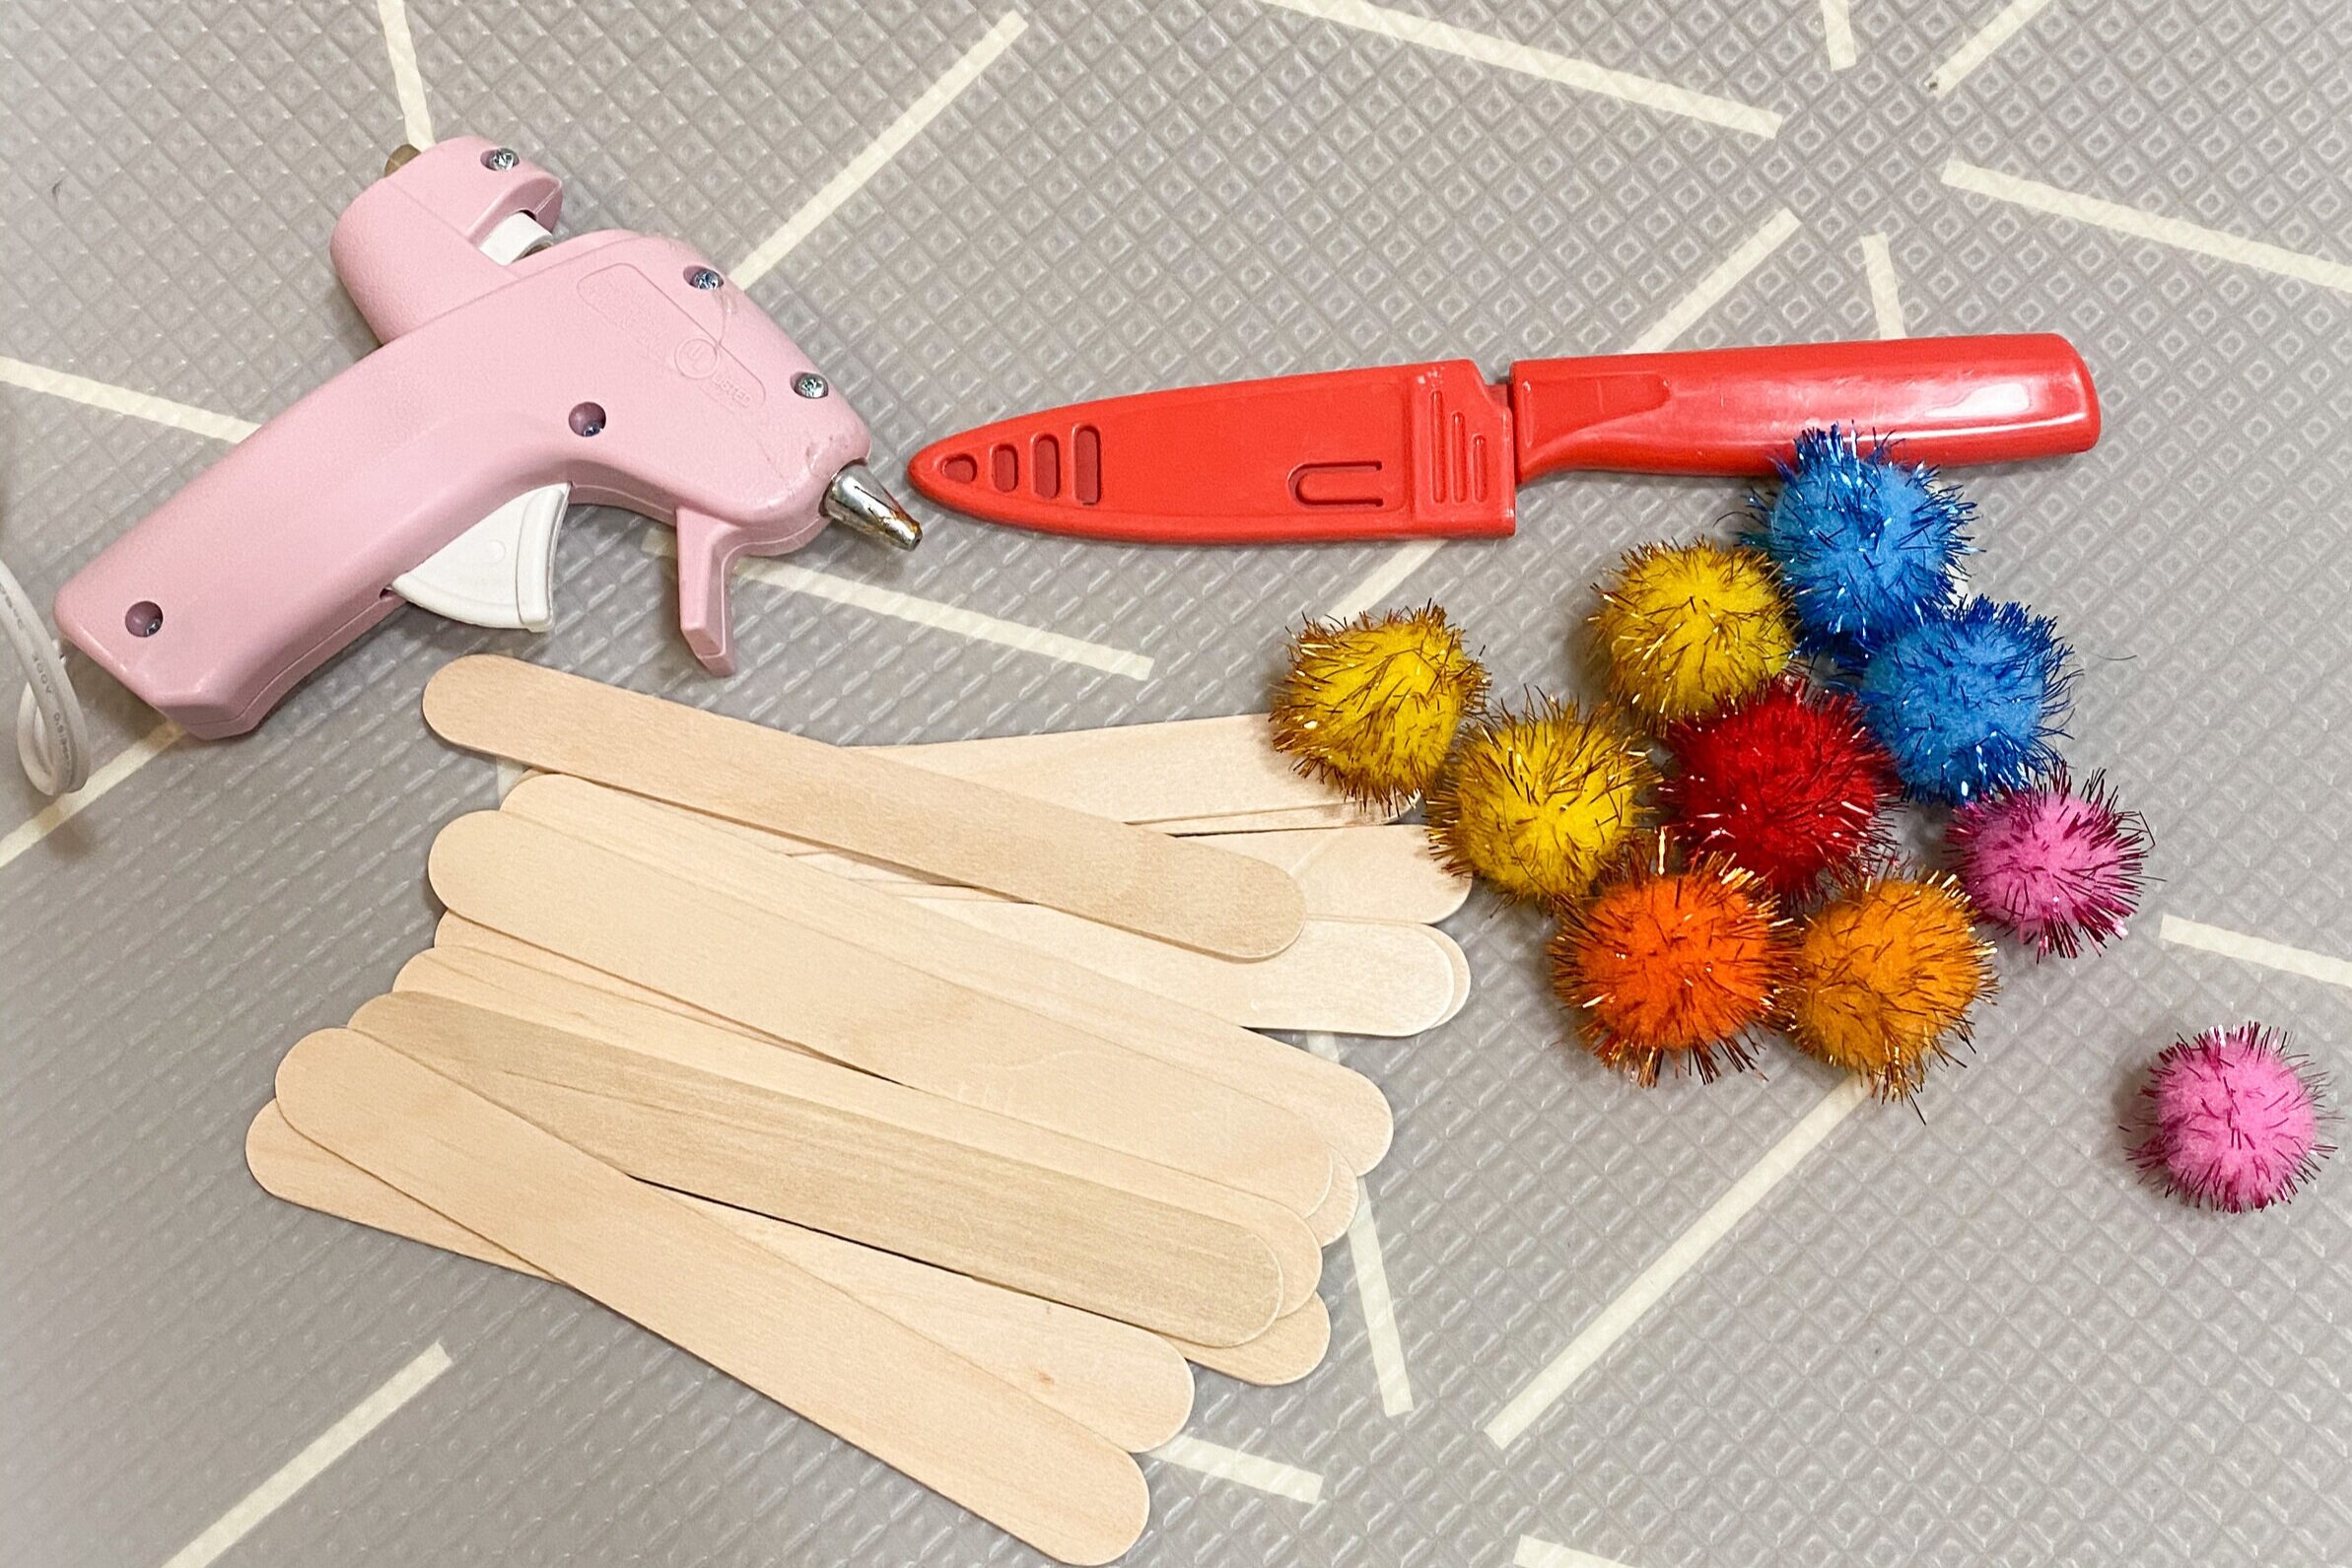
Materials Needed:

 
IMG_3857.jpg
 

Step 1: Tape your box closed using clear packing tape. We added yellow painters tape around sides for extra color, but this step is optional.

Step 2: Tape FREE Holiday Box Printable sheet of choice to the top of the box covering with clear painters tape.

Step 3: Using hot glue, glue a pom-pom to the top of each popsicle stick. To help with this we used the knife to make a small cut in the bottom of the pom-pom (but be careful not to cut too deep or the pom-pom will unravel).

 
IMG_3855.jpg
 

Step 4: Using knife cut small slit into picture and through the box in desired area (either on top of ornaments or where the candle flame will be).

IMG_3852.jpg
IMG_3850.jpg

Step 5: Have fun!! Work on putting popsicle sticks into slots to complete the picture. Such a fun way to challenge fine motor strength.

IMG_3851.jpg
IMG_3854.jpg

Pumpkin Gut Sensory Bag

This time of year there always seems to be tons of pumpkins around for carving, decor, or crafts! So why not use the pumpkin for a sensory activity?! This would be great to do along with pumpkin carving, or it is a fun stand alone activity.

Materials Needed:

  • Pumpkin

  • Knife

  • Halloween themed pieces of choice (we decided to go with witch fingers)

  • Ziplock Bag

Step 1: Cut the top of the pumpkin off using a knife. If carving this will be a small top cut, but if doing as a stand alone activity cut into more of a bowl shape with a large opening.

 
IMG_3457.jpg
 

Step 2: Look at all those amazing pumpkin guts!! Scoop them away from the sides, add your halloween toys, and mix together.

*Therapy tip: For a really gooey sensory experience you can have your child help mix the toys in using their hands, or have them try to find the items by digging in pumpkin bowl for the toys.

IMG_3458.JPG
IMG_3460.JPG

Step 3: For a less messy sensory experience, scoop all the contents into a large ziplock bag. Have your child work to find the hidden pieces or try to move the pieces into a line or make a shape. Have Fun!

*Therapy tip: This is a great way to work on isolation of the pointer finger! Try using the pointer finger to move the seeds, search for objects, or line objects up.

 
IMG_3471.JPG
 

Feed The Ghosts

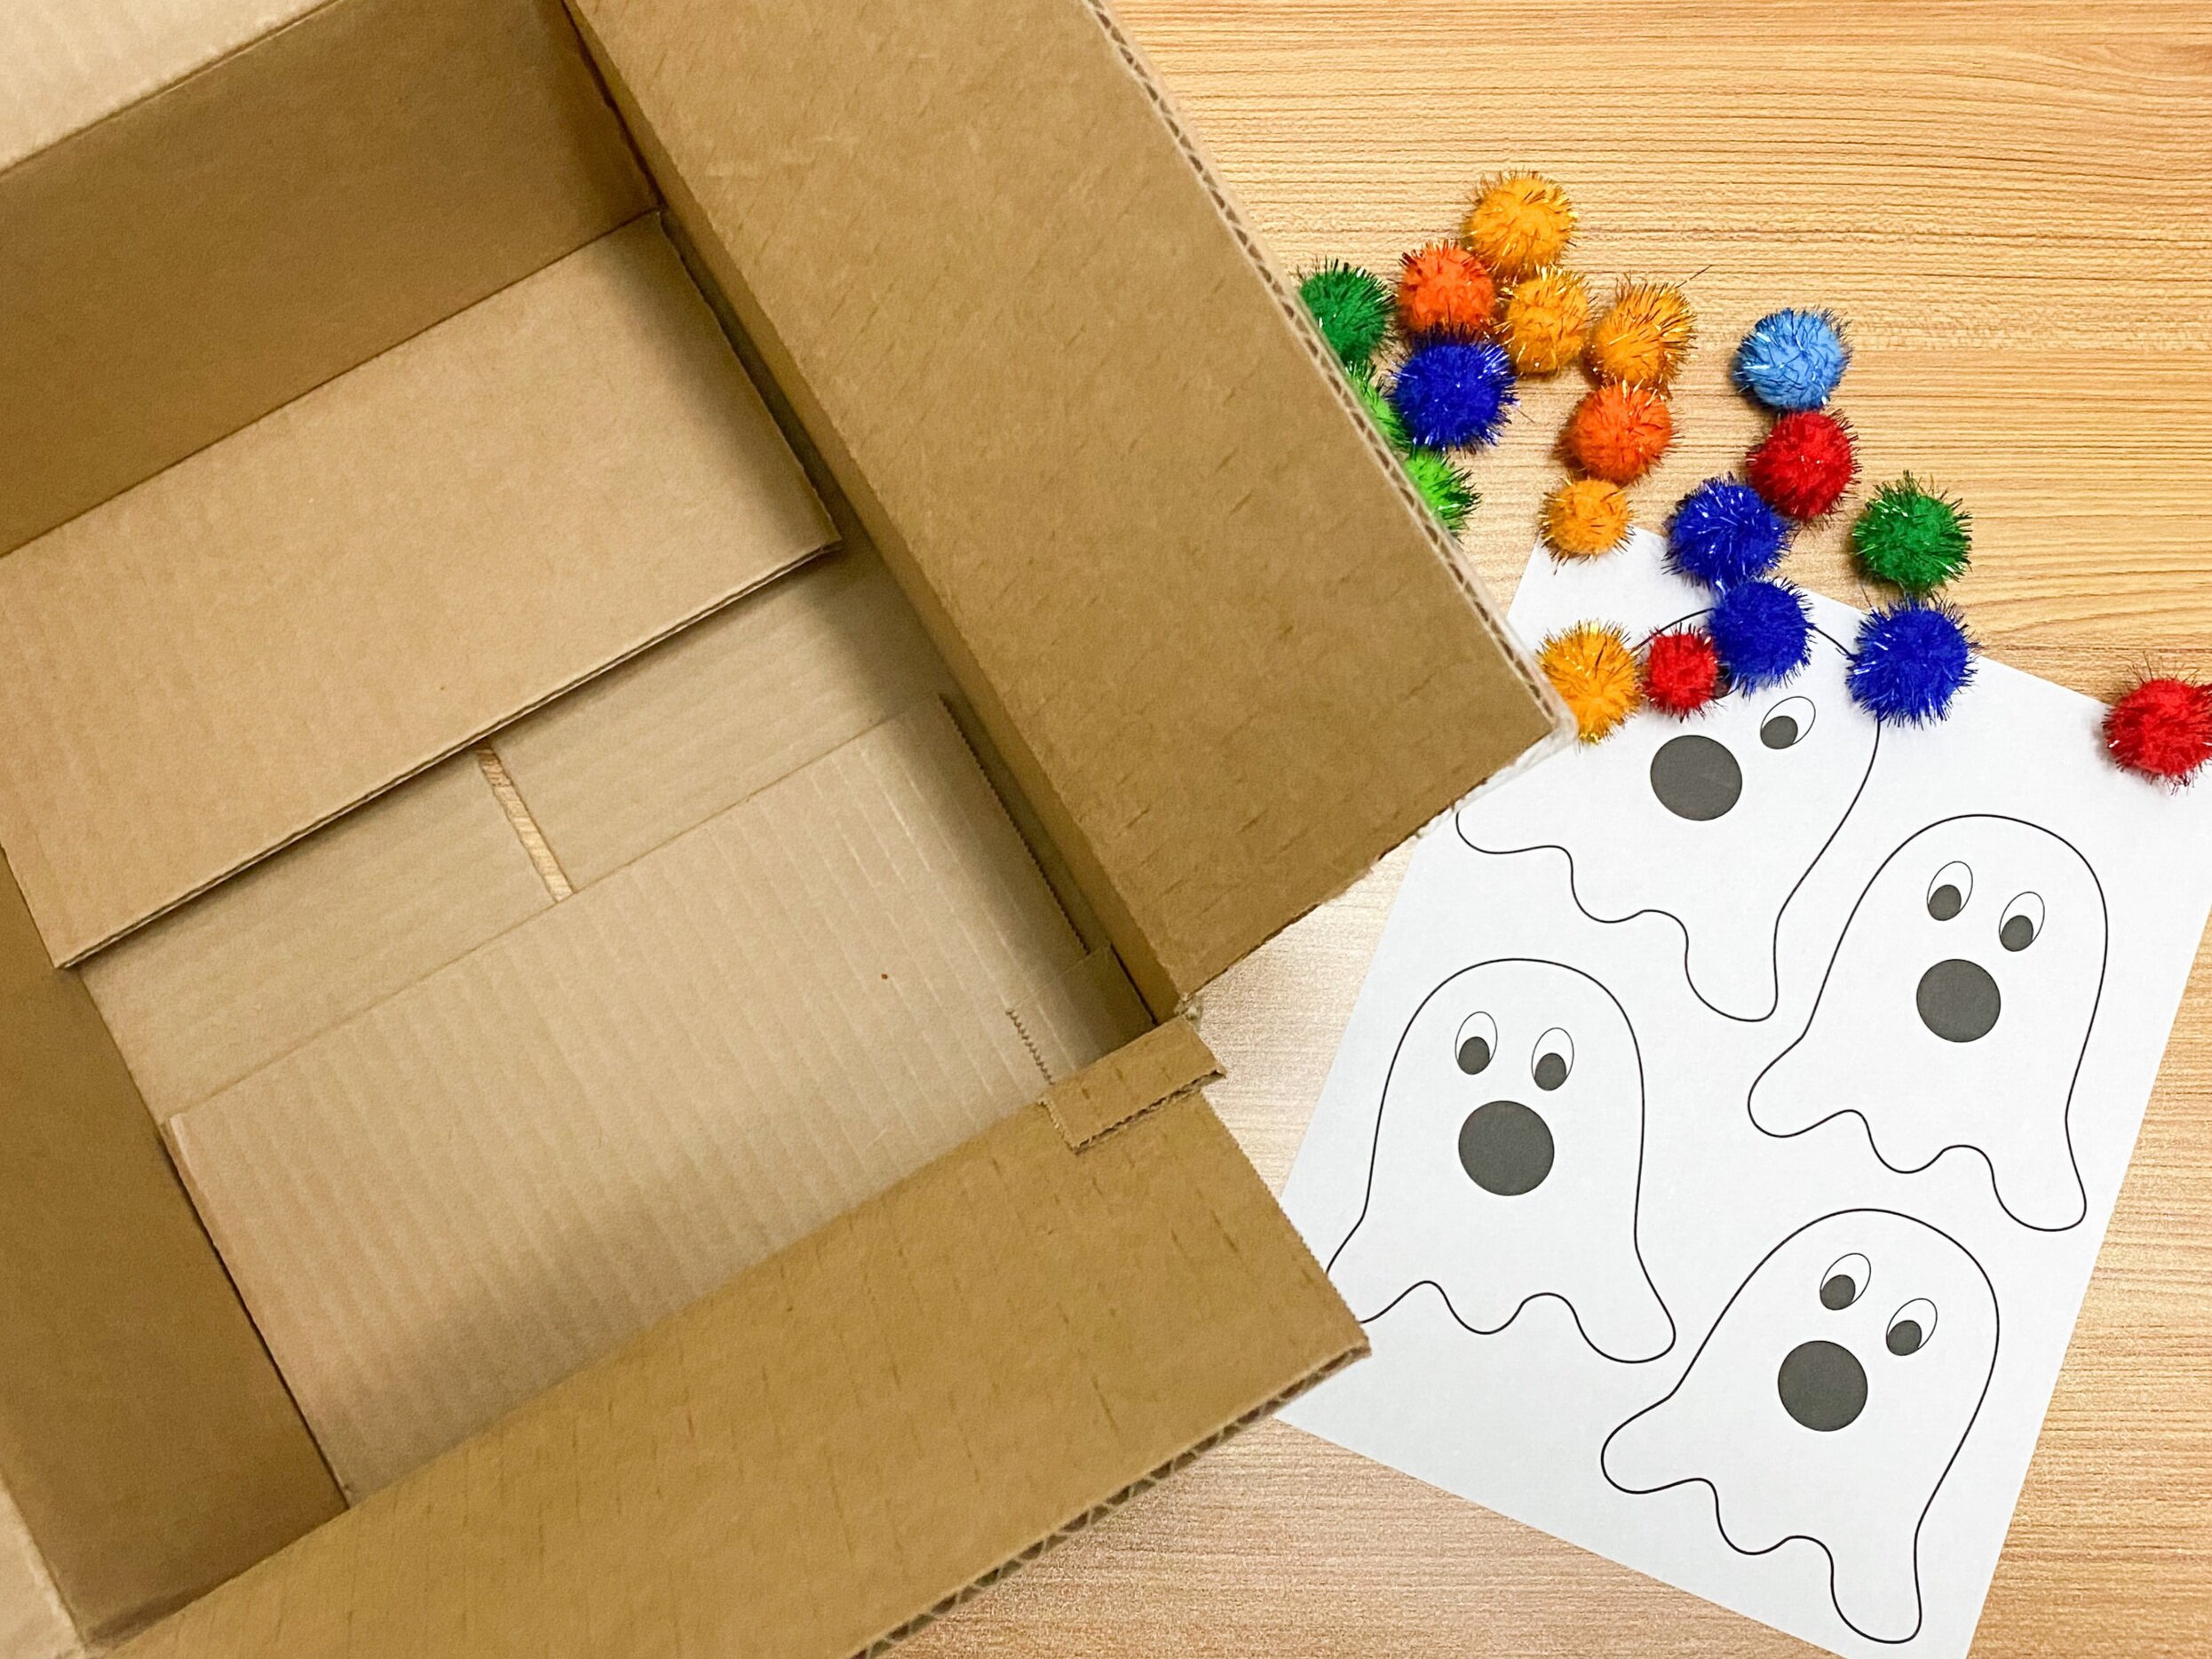
We are huge fans of themed therapy activities for Halloween, and this ghost feeding one is so fun to get the kids involved in. This activity can help strengthen pincer grasp and finger isolation. You can also add clothes pins, tweezers, or tongs to pick up the pom-poms for grip strength. You even have the option to turn this into a color recognition game.

Materials Needed:

  • Box (We used a recycled amazon box), but a shoe box would also work

  • Ghost Printable (Click here to download for free)

  • Box Cutter

  • Scissors

  • Tape

  • Pom-Poms or Cotton Balls

  • Markers/Crayons (optional)

 
IMG_3443.JPG
 

Step 1: Print Halloween ghost printable for free! Using scissors cut out the mouths of all the ghosts.

 
IMG_3445.jpg
 

Step 2: Tape one side of box closed to make a flat top. You will want to leave bottom open so you are able to get pom-poms out. Place ghost paper on top of box and trace where the holes will be. Using box cutter, carefully cut holes into the box.

Step 3: Tape the ghost paper on top of the box so that the mouths line up with the holes. Have your child work to pick up pom-poms or cotton balls and feed the ghosts by pushing them into the box.

*Therapy tip: Try making the holes in the box a bit smaller than your pom-poms so that your child has to isolate their index finger to push it inside the box.

IMG_3446.JPG
IMG_3449.JPG

Step 4: As an optional extra step have your child color the ghosts to match pom-poms. Then they can practice feeding the ghosts matching colored food! So “Boo-tiful”

IMG_3450.JPG

Box Toss Game

 
IMG_1729.jpg
 

One thing we have learned as pediatric therapists….NEVER throw out a box without first considering what you could use it for! This fact has become even more important during social distancing. One of our favorite ways to put a box to use for at home therapy, is using it for target practice to challenge those hand/eye coordination skills.

Boxes can easily be used for target practice, by simply opening up the top to throw bean bags, stuffed animals, or even rolled up socks into. You can also increase the challenge like we did, and cut holes in the box to make a smaller and more challenging target to hit. We even decided to color coordinate our targets to match the bean bags, and add points based on distance for extra fun!

Step 1: Tape the box closed and trace circles where you want the targets to be. We used a small plate to help get a symmetrical circle, although we do regret the use of a sharpie as that took a little rubbing alcohol to get off the plate (I would definitely go with a pencil instead).

Step 2: Use a knife, box cutter, or scissors to carefully cut along the traced lines to create holes.

IMG_1688.jpg
IMG_1716.jpg

Step 3: Decorate as desired! We went with a quick painter’s tape outline for the colored targets, but feel free to get creative and break out all of the craft supplies. Decorating the box with your child can be another fun activity before the target practice even begins!

Step 4: Play!! Have your child stand away from the box, and practice throwing objects into the targets. You can easily adjust this as needed based on current age and skill level. For beginners start super close, and back away as they improve their aim.

 
IMG_1723.JPG
 

Step 5: Don’t forget to up the challenge! We love adding an uneven surface to stand on (like a pillow or couch cushion). This will increase difficulty by challenging the child’s balance reactions. To make this even more of a strength challenge, have the child squat to pick up the items to activate those lower extremity, hip, and core muscles. For beginners have them squat and get the items directly from the pillow, then lower objects to the floor as the child become more stable.

 
IMG_1732.JPG
 
Beginner Squat

Beginner Squat

Advanced Squat- Requires further reach

Advanced Squat- Requires further reach

Such a fun way to recycle a box while working on hand/eye coordination, balance, and strength. For older children, you can even have them help with creating and keeping a scoreboard. This can sneak in some handwriting and math practice! Happy throwing!!

Scavenger Hunt

While we are all spending most of our time at home lately, that does not mean that daily outside walks are canceled! We put together this fun outdoor scavenger hunt activity to take with you on your next family walk (while practicing social distancing of course).

Spotted the fire hydrant!

Spotted the fire hydrant!

Taking a marker along is a fun way to sneak in some fine motor practice as well. He rocked his check marks!

Taking a marker along is a fun way to sneak in some fine motor practice as well. He rocked his check marks!

The great thing about scavenger hunts, is they really get kids to pay attention to the details of their environment. Searching for the items on the list is a great way to challenge visual scanning and boost their observational skills. Don’t forget to take a marker along so they can check off their finds as you go! This can also be a fun activity to incorporate with speech goals. As you walk work on pointing towards objects, identifying them, practice making their noises, or talk about colors. This activity is so great to tailor to your child’s current speech level. For an extra challenge celebrate each find with an exercise (try jumping jacks, frog jumps, or marching in place). Such a fun way to take advantage of movement time outdoors, while encouraging learning and talking in a relaxed and natural environment. To make searching even more exciting check out our post on how to make binoculars out of recycled toilet paper rolls, this will help kids get excited about searching!

If outdoor walks are not available to your family at the moment, we also created an indoor scavenger hunt option for you. You can still work on all these skills indoors or while looking out the window! Happy searching!! Click here for our scavenger hunt pages.

So proud of all of his finds today! The bunny might take a few walks to find, but we will be keeping our eyes out.

So proud of all of his finds today! The bunny might take a few walks to find, but we will be keeping our eyes out.

Binocular Craft

We love this fun binocular craft idea using recycled toilet paper rolls! Kids can work on their fine motor skills decorating and building the binoculars, and then can use them for visual scanning activities after they are done.

This craft is pretty simple, and has two different building/decorating options:

Option 1: Paint the rolls and glue them together (we suggest hot glue)

Option 2: Tape the rolls together using painters tape

Supplies needed for craft: 2 toilet paper rolls, bandana or string to use as neck strap, paint (if using option 1), glue (if using option 1), tape (if using option 2), and something to poke a hole in the side of the rolls (we used a hole punch, but …

Supplies needed for craft: 2 toilet paper rolls, bandana or string to use as neck strap, paint (if using option 1), glue (if using option 1), tape (if using option 2), and something to poke a hole in the side of the rolls (we used a hole punch, but a pen would work as well)

Start by choosing which option you have the materials for at home.

Option 1 Paint:

  • Step 1: Paint the toilet paper rolls, and let dry. You can do basic colors like us, or add designs.

  • Step 2: Glue rolls together and let dry

  • Step 3: Punch holes in both sides.

  • Step 4: Tie bandana or string through the holes to make neck strap.

  • Step 5: Happy searching!!

Option 2 Tape:

  • Step 1: Wrap tape around 2 rolls to hold them together. You can use colors to make stripes like we did, or do all one color. To add extra decor try using stickers.

  • Step 2: Punch holes in both sides.

  • Step 3: Tie bandana or string through the holes to make neck strap.

  • Step 4: Happy searching!!

IMG_1744.jpg
IMG_1774.jpg

When attaching the neck strap make sure you thread it in first, and then tie the knot on the outside of the roll so that it does not obstruct the view through the binoculars.

Next, enjoy the final product! Check out our scavenger hunt post for a fun outdoor visual scanning activity to put these binoculars to work. You can also practice bird/people watching through the windows, or finding objects inside the house. Try finding different shapes and colors, or playing a game of “I spy with my little eye.”

IMG_1750.jpg
IMG_1759.jpg
IMG_1747.jpg

Introducing DKT Blog

Bear+with+computer.jpg

During this COVID-19 closure, we have really been missing seeing all of our kiddos and connecting with families in person. While we love our virtual sessions, we thought that starting a small blog might be another way to keep in touch during this time. Meddy Teddy has been hard at work thinking up some ideas for at home therapy fun! Stay tuned for more!