sensory learning

Pumpkin Gut Sensory Bag

This time of year there always seems to be tons of pumpkins around for carving, decor, or crafts! So why not use the pumpkin for a sensory activity?! This would be great to do along with pumpkin carving, or it is a fun stand alone activity.

Materials Needed:

  • Pumpkin

  • Knife

  • Halloween themed pieces of choice (we decided to go with witch fingers)

  • Ziplock Bag

Step 1: Cut the top of the pumpkin off using a knife. If carving this will be a small top cut, but if doing as a stand alone activity cut into more of a bowl shape with a large opening.

 
IMG_3457.jpg
 

Step 2: Look at all those amazing pumpkin guts!! Scoop them away from the sides, add your halloween toys, and mix together.

*Therapy tip: For a really gooey sensory experience you can have your child help mix the toys in using their hands, or have them try to find the items by digging in pumpkin bowl for the toys.

IMG_3458.JPG
IMG_3460.JPG

Step 3: For a less messy sensory experience, scoop all the contents into a large ziplock bag. Have your child work to find the hidden pieces or try to move the pieces into a line or make a shape. Have Fun!

*Therapy tip: This is a great way to work on isolation of the pointer finger! Try using the pointer finger to move the seeds, search for objects, or line objects up.

 
IMG_3471.JPG
 

Tactile Pipe Cleaner ABC trace

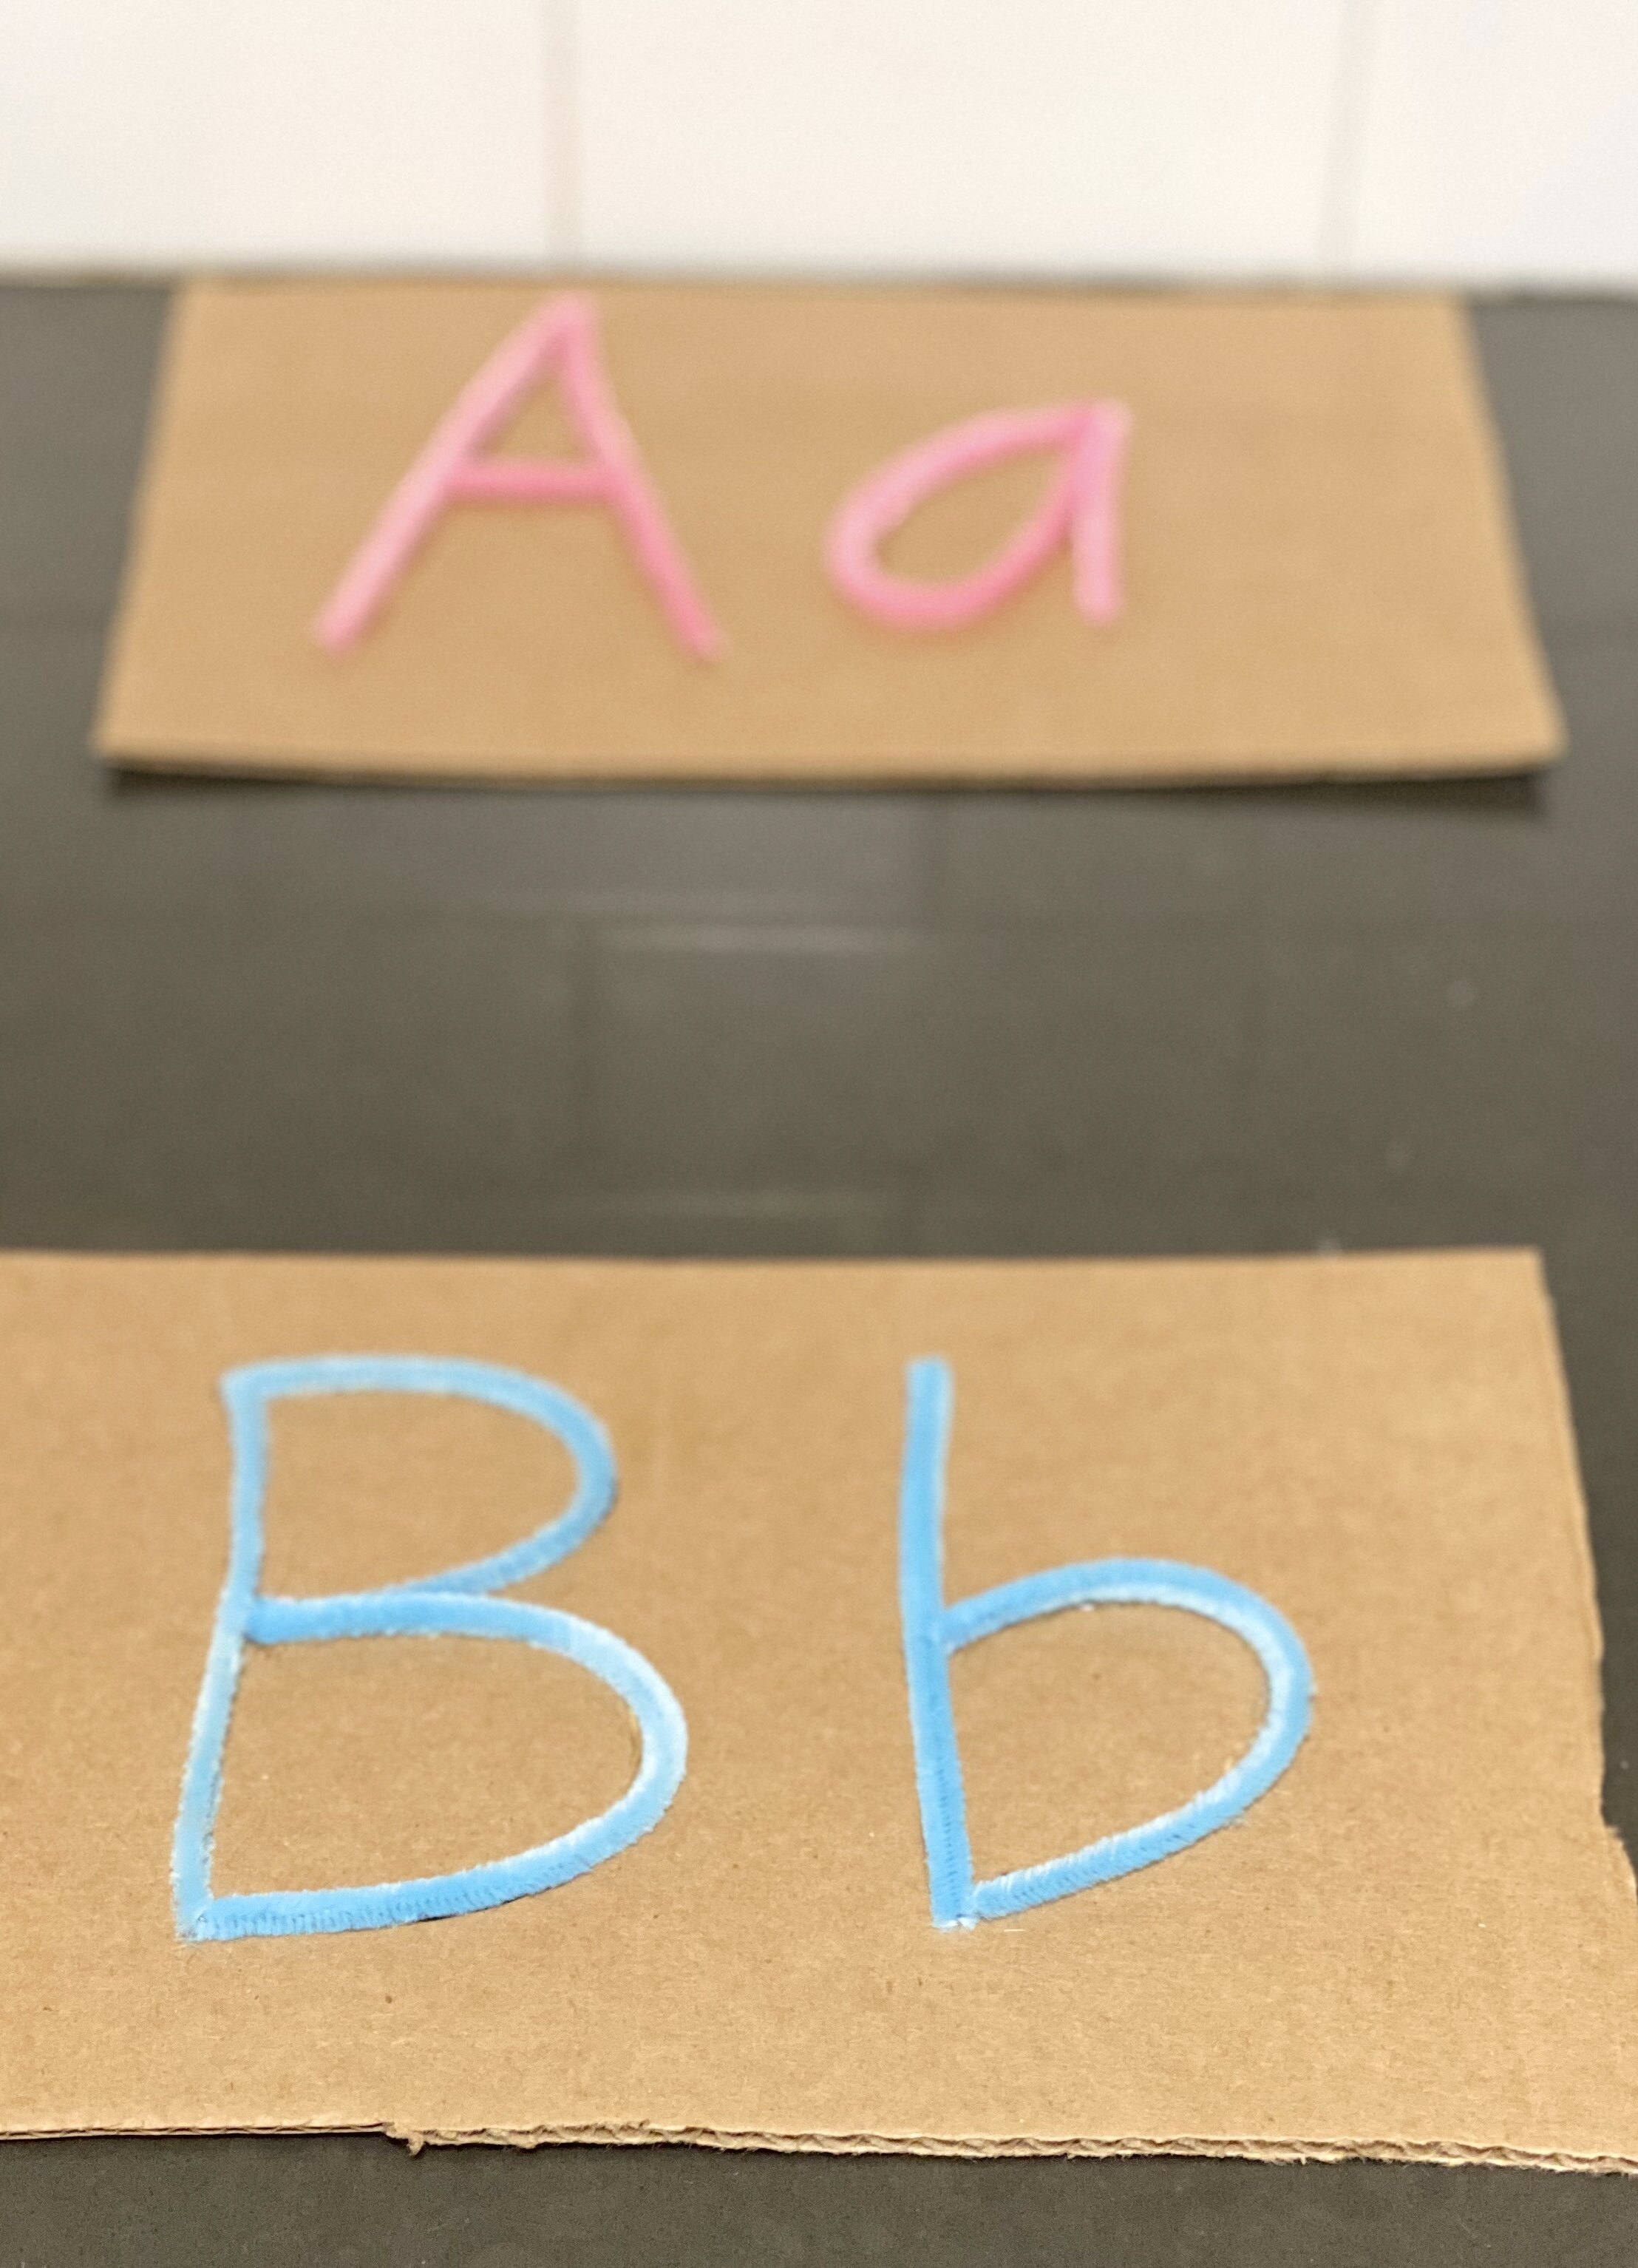
We love practicing handwriting and letter recognition skills with our kiddos during therapy. We also love a hands-on and sensory approach when it comes to learning, so these tactile tracing letters are perfect! Kids can practice tracing along the letters while receiving sensory feedback from the pipe cleaners. This extra input can help with learning, and the tracing is a great prep for writing skills.

Supples needed:

  • Cardboard

  • Scissors

  • Pipe Cleaners

  • Hot Glue

  • Marker

 
IMG_2026.JPG
 

Step 1: Cut cardboard into rectangles (the number you cut depends on the number of letter cards you are going to make). We recommend starting with the letters in your child’s name and then building from there.

Step 2: Using your marker, draw an uppercase and lowercase letter onto cardboard

 
IMG_2028.JPG
 

Step 3: Place pipe cleaners over drawn letters and cut down to the size needed.

Step 4: Cut pipe cleaners and glue down on top of your drawn letters.

IMG_2029.JPG
IMG_2033 2.jpg

Step 5: Using our ABC Tracing Packet as a guide, add numbers and arrows so your child can practice tracing using correct letter formation.

IMG_2651.JPG

Step 6: Have Fun!! Let your child explore the letters and get sensory/tactile feedback to help with learning. Practice saying the sounds along with each letter, or coming up with words that start with that letter.